 | In the previous tutorial we exported a model to
Microsoft Train Simulator.
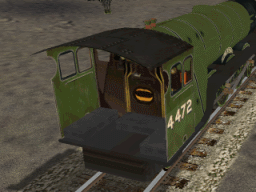
We noted a few problems with the model. In particular, the windows
were transparent not translucent. |
|
|
 | In order to improve performance, Microsoft Train Simulator assumes that a
translucent layer in a texture is transparent unless otherwise
indicated. To indicate this in 3DCrafter we have to create a custom
material called "Tx Alpha" and set it's value to
Translucent for translucent textures and Transparent for
transparent textures.
The first time the Train Simulator Wizard is run, it automatically
creates the "Tx Alpha" custom material field. You can create this
field manually via File -> Properties
-> Custom Fields.
In addition to setting the "Tx Alpha" custom material field, you may
also want to set an alpha priority via the "Alpha Pr" custom material
field. Set this field to 1 if the texture is translucent and it will
be possible to see out the other side of the model through another
layer of translucency.
|
|
|
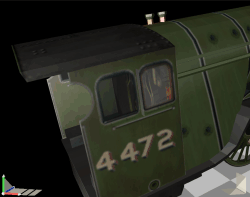
 | To make the glass of the windows look translucent
rather than transparent, we will have to set the "Tx Alpha" field
appropriately.
The first step in setting the "Tx Alpha" field is to sample the material at the location where the material
needs to be translucent. Change the "Tx Alpha" custom material field
on the
Material Palette to Translucency to indicate that this material is translucent.
Note: if you are creating a model that has exterior glass and interior
glass, the exterior glass should have the "Alpha Pr" field set to 1.
|
|
|
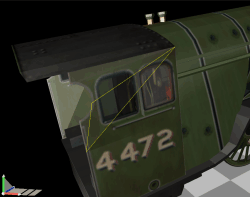
 | Now select the faces that you want to update. It is important that
you only update the minimum necessary number of faces. If you select
too many Train Simulator will run more slowly or even not be able to
load your model. Run the Update Material plug-in to update the
material.
A negative aspect of selecting a restricted number of faces is that
occasionally gaps will be visible between the translucent and
non-translucent faces. If this is a problem you can increase the
translucent area to hide this.
|
|
|
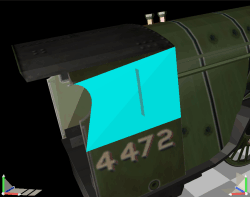
 | You will not see any visible difference in the
model in 3DCrafter by setting the "Tx Alpha" custom material field.
Repeat this procedure for the other parts that require translucency.
Run the Train Simulator Wizard to export your model. You will be able to simply
click Finish since all of the other settings were saved the
last time you exported. |
|
|
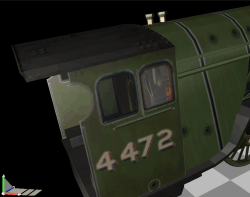
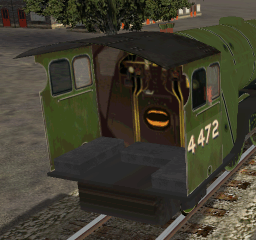
 | The translucency on the model now looks correct in Train
Simulator. |
|
|
 | 3DCrafter has many material settings available, but Train
Simulator has a much more restricted ability to use materials. Many 3DCrafter materials are
either not recognized by Train Simulator or are only supported in a
limited way.
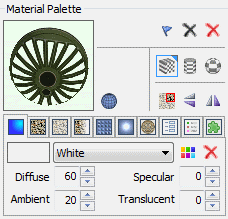
As a rule, materials look best in Train Simulator with an Ambient
value of 20, and a Specular value of 1 or higher.
The Translucent and Diffuse values are not used at all by Train Simulator.
|
|
|
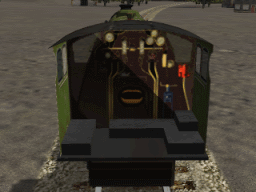
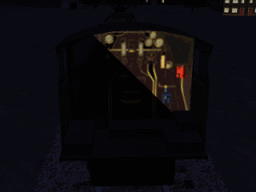
 | The Specular value indicates that a material is shiny. Any number
higher than 0 is appropriate. But non-specular materials have another
attribute. They are much brighter than specular items. In this
picture, the left-bottom
section of the cab uses a Specular value of 1. The right-top section a
Specular value of 0. It is much brighter. |
|
 |
 | At night this is particularly obvious. Generally a Specular value
of 1 or higher should be used for everything except for items that are to be
self-illuminating at night.
A Specular value of 50 results in the material being visibly "shiny"
in Train Simulator and 75 or higher results in the material being
"very shiny" in Train Simulator. This visible shininess comes at the
price of slower rendering. By default Train Simulator turns off
specular highlighting, so in order to see any visible shininess, you
need to enable Specular Lighting in Train Simulator's advanced display
options.
Note that the use of the Specular value is restricted since Train
Simulator averages it for all of the shapes in a group. So if you
want to use a variety of Specular values be sure to group the shapes
by Specular value.
|
|
|
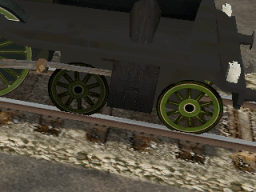
 | The Ambient value is used to indicate that relative brightness.
The standard value of 20 is shown on the wheel on the right. A value
of 0 is shown on the wheel on the left. Notice that this is on the
sunny side of the train. On the shaded side of the train there is no
difference between the two. |
|
 |
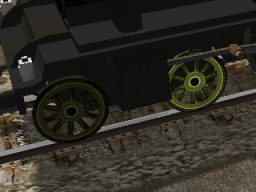
 | The standard Ambient value of 20 is shown on the left. An Ambient
value of 100 is shown on the right. Notice that this is on the shaded
side of the train. On the sunny side there is no difference between
the two. |
|
 |
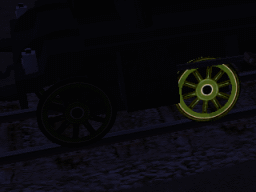
 | At night there the difference is more pronounced. The left side is
the using the standard Ambient value of 20. The right side is using an
Ambient value of 100.
Note that the use of the Ambient value is restricted since Train
Simulator averages it for all of the shapes in a group. So if you
want to use the Ambient value be sure to have the shape located in
its own group. |
|
 |
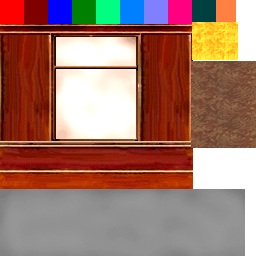
 | Train Simulator models must be entirely textured. This does not
mean that simple colors cannot be used. To have the ability to use colors as well as textures, a single large texture can be
created that combines a number of smaller textures and colors. The texture can then be
cropped as it is applied to provide the desired texture or color.
3DCrafter permits virtually any texture size, but MSTS only permits
textures that are 64x64, 128x128, 256x256 or 512x512 pixels.
You may use multiple textures per shape also if you wish, but Microsoft suggests using
as few textures as possible in order to improve performance. Also, 3DCrafter
requires
a single texture per shape in order to automatically generate distance-based Levels of
Detail. These Levels of Detail improve Train Simulator performance.
Much of your material painting will be done using the Paint Tool. The Fill
operation can be quite useful for filling a selected group of faces with a material. If
you are filling a subset of the faces with a material all three wrapping modes (flat,
cylindrical and spherical), can be used. If you are filling the entire shape, only the
flat wrap can be used or distortion will occur. The UnWrap and UVMap
operations are particularly useful with models created for Microsoft Train Simulator
because they allow for precise application of textures.Translucency layers can be used with 3DCrafter
Plus/Pro by using Targa (tga) files as
textures.
|
|
 |


